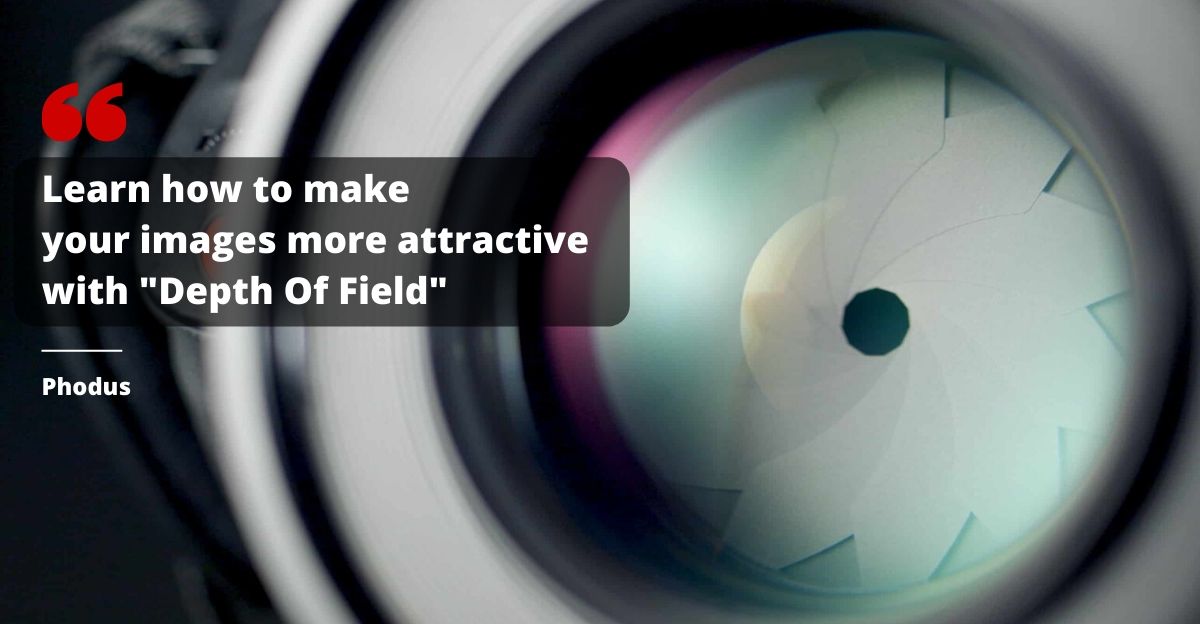
What Is Depth Of Field In Photography?
The depth of field in photography is one of the basic concepts to create creative images. It was not as easy as today to determine the DOF of the scene. It’s the innovation of digital cameras that makes things easy for us.
You see a beautiful picture that attracts you. And you want to create something like that. But before knowing the concepts behind it. You will end up no were.
Being a photographer you should know what is DOF and how to have control over it. As a beginner, you may find it difficult but once you go through the blog you will understand it with clarity.
In this article, I will explain to you about DOF in an easy way. Also, how does it operate and what controls it?
Let’s begin with the article.
What is the Depth of field in photography?
The depth of field in photography is “ The amount of area in focus in front and back of the subject. Have you ever noticed when your images have a blurred background and the subject is in focus?
Like in portraits photography, the face is clear and the background is blurry. The zone where there is an acceptable sharpness is the images is the DOF.
How clear is your photograph? And what amount of area is clear.
Final words:
“ The amount of area/zone or portion which is sharp/clear/focus between the foreground and background of your subject”.
When less area is in focus it is a narrow depth of field. When a large amount of area in focus its deep or wider depth of field.
Shallow depth of field creates a blur background and foreground. Whereas with a large depth of field almost everything is clear in the image.
Many factors affect the DOF. Here in this article, I will discuss the major ones. Which you will encounter in your daily photography life.
What controls the depth of field?
- Aperture
- Distance between camera and the Subject (Camera-Subject distance)
- Lens Focal Length
- Image Sensor Size
Aperture
If you have reached this article. It means you know or have heard of aperture. This is one of the pillars of photography. The other two are Shutter Speed and ISO. These three are responsible for the exposure.
Collectively they are known as “Exposure triangle”. These three elements have specific roles to play in capturing an image. The common role each has is to control the light. To decide how bright or dark your image will be. In their parameters.
Similarly, aperture also controls the light. Let’s see what an aperture is?
The opening and closing of the less to pass the light into the image sensor is Aperture in photography.
You will find a blade in your camera lens. That is known as the diaphragm. The opening and closing of the Diaphragm that allows light to pass into the image sensor.
The aperture is represented as “Stop” also known as “ f-stop” or simply f no.
For example f1.2, f2.8, and f5.6. The smaller the aperture no. the larger is the aperture and the bigger the aperture no. the smaller is the aperture.
The aperture is controlled by the aperture setting in the camera. Which you can find in the camera body or on the back screen of your camera.
You might get confused here. For better understanding please check the complete article on Aperture.
Other than the exposure the main role of it is to control the depth of field.
How does Aperture control the Depth of field?
The basic concept is, a larger aperture(small in no.) will cause Shallow depth of field.
A smaller aperture(large in no.) will cause a wider/deep depth of field.
When the aperture blade is wide open it is a large aperture. When it is less open it’s a small aperture.
A large aperture allows more light to enter the camera. Which results in shallow depth of field. Few portions of the images are sharp. The rest of the things are blurry.
You will generally see this effect in portrait photography, where the focus is in the face of the model. Whereas the background is blurry. This technique isolates the subject to make the picture more appealing.
Though this was achieved due to shallow depth of field. It was because of the small aperture.
It can also be seen in wildlife photography. Where the subject is isolated and the background is ignored by blurring it. The best example of this is bird photography.
It creates a shallow depth of field to keep the viewer’s eyes on the subjects.
A small aperture allows less light to enter the camera. Which results in a large depth of field.
Almost everything in the picture is clear to see.
Aperture above then f11 starts to create a deep depth of field. It depends on your frame. If you are capturing wider angle shots you might require a smaller f11. You can gradually move about to f22, to get the wider DOF.
You will see this effect is landscape photography. Where you want everything in the focus and clear. You can also see this in architecture photography. In any type of photography where you take wide-angle shots.
This is how the aperture controls the DOF. Now let’s see the other factors that affect it.
Distance between camera and the Subject (Camera-Subject distance)
Sometimes you have a lens that is not fast enough. It means it doesn’t have a large aperture(small in no.) or due to any reason, aperture fails to create depth of field as per your needs.
It can be shallow or wide DOF. In such cases, distance plays a role in controlling the DOF.
Yes, the distance between the camera and the subject affects the depth of field.
The closure you take the camera to the subject will cause shallow DOF. While increasing the distance will cause wider DOF.
If you fail to get the desired DOF in your image. Then make sure you are considering the camera-subject distance as a factor.
You can test this over portrait shots. Place the model in front of your camera and be close to her. As a result, you will get shallow DOF. The background will be blurry. Now, take a few steps back and click the picture with the same exposure settings.
You will start getting wide DOF. The picture will have a sharp part in the image. The background will be visible.
Most of the time you will see in macro photography. The tiny subjects like insects are isolated and the background is blurry. This is because of the aperture as well as the distance.
You bring the camera close to the subject to form a shallow depth of field.
You can try this in compact cameras as well as smart mobile phones also.
Though there are varieties of lenses in the market. So there may be a chance it won’t work in each lens or scene.
Lens Focal Length
The focal length is another factor that affects the Depth of Field. It is “ The distance between the lens and the image sensor, when the subject is in focus”.
The prime lens is also called a fixed or block lens. They have short focal lengths.
Whereas a zoom lens or telephoto lens has a large focal length. You have the option of zoom in and out in these lenses. That’s the reason it adds more length to the focal length.
The long focal length causes the shallow depth of field. The shot focal length causes a wider depth of field.
You must have observed these in wildlife photography. The focus is on the subject while the entire background is a blur. This happens because of the telephoto lens. In wildlife photography, photographers use large focal length lenses.
Which causes the shallow depth of field. The Aperture in the telephoto lens is not as fast as wide-angle lenses or prime lenses.
Taking an animal picture with a wide-angle lens will cover a lot in the frame and cause a wide depth of field.
This situation may not work in every condition. So consider all the factors while taking a picture according to your need.
Image Sensor Size
Sensor size also affects the Depth of field. The camera with a larger sensor size creates a shallow depth of field. Whereas a camera with a smaller sensor size creates a larger depth of field.
That is why a full-frame camera tends to create a shallow depth of field. Whereas crop sensors like APS-C sensor create a wider Depth of field.
That’s why you will see portraits photographers use a full-frame camera. To isolate the subject and make the background blurry. By creating shallow depth of field.
It is also true that you can create the same depth of field in each sensor. You just have to play with the aperture setting.
For example, take a full-frame camera , set the aperture, and create a shallow depth of field. Make sure to keep the camera-subject distance the same with every sensor.
Now divide the crop factor of other cameras like APS-C and Micro with an aperture of full-frame. And set that aperture respectively. You will get the same DOF for all the sensors.
The crop factor is the difference in the size of the sensor.
How to preview the depth of field in your camera?
Many cameras nowadays have DOF preview buttons. While capturing the scene you can see it in the viewfinder. You just have to press it and look over the viewfinder.
This is also available in live view. But with small sensor cameras, the viewfinder turns black. Which might create problems for you.
Mirrorless cameras are more accurate to a DSLR in terms of DOF preview. It produces the exact image which you see in the live preview or the viewfinder.
Conclusion
So now you know all about Depth of field in photography. It’s your time to practice it. Once you get hands on it. You can click pictures like a professional photographer.
If still, you have any questions. Feel free to comment below. I would love to hear it from you.
If you are looking for a complete photography guides. Please check the below information. It might be worthy for you.
- Rule of thirds in photography
- White balance in photography
- Histogram in photography
- Camera modes in photography
- Metering modes in photography
You may also like this: