What Is ISO In Camera? (Control and Master Your Photography Skills)
Camera ISO is one of the three pillars of photography. The other two are Shutter Speed and Aperture. Also known as three essential elements to control light. It plays a crucial role in producing high-quality pictures.
These three components are the main factors that expose the picture. They are called Exposure triangles. Which together helps to proper Exposure. Gaining control over ISO will lead you to become a better photographer.
Functions of Shutter speed, Aperture and ISO to light
Shutter Speed
Decreasing Shutter speed welcomes more light. Increasing it welcomes less light.
Aperture
Increase aperture i.e f stop no. will welcome more light and decreasing aperture will welcome less light.
ISO Speed
Increasing ISO welcomes more light and decreasing ISO welcomes less light.
These three pillars respond towards the light but it also has other effects also. Which you will read further down below.
This is the basic photography blog about ISO. This is what beginners will need to know. And anyone who wants to understand camera ISO in easy languages.
Like what is ISO? What is ISO in Camera? How to use ISO in the best possible ways? What is the meaning of ISO in camera?
Contents
What is ISO?
ISO stands for “International organization for Standardization”. It is an abbreviation, not an acronym. This is the actual ISO full form in camera. Yes, you can say that the camera manufacturer has borrowed the name from the organization.
ISO is an organization that develops and publishes International Standards. It is an independent non-governmental organization. It has 164 membership bodies across the world.
You need to be aware of the myth of ISO in photography. It is the myth that the defination of ISO in photography stands for “ Image Sensitivity Optimization”. It is the rumor or you can say lack of info spread among few photographers.
Now let’s check what is camera ISO?
What is ISO in camera?
ISO settings in the digital cameras are the nos. that allow how sensitive the image sensor will be to the light. In other words, ISO calculates the sensitivity of the images sensor to the light. Its help is producing high-quality images.
It was the same for the film cameras that how sensitive the film is to the light. Earlier it was The American Standards Association (ASA) and Deutsches Institut für Normung (DIN). Now combining these two it is ISO.
For better understanding
Take three pans of coffee and put in the gas. Light the gas and keep the intensity of the flame low, medium and high. What will you observe? The low flame coffee will boil with less intensity. Medium flame coffee will boil more with medium intensity. And the third one will get overflow.
Let’s understand
- The flame is the Light.
- The Meter (Low, Medium, High) is the ISO range.
- The Coffee Pan is the Image Sensor.
- The level of intensity of the flame to the coffee pan is the level of sensitivity of the light to the image sensor.
- Coffee is the picture.
So from this example. We understand that the higher the gas meter of the flame more the coffee gets hotter and over boiled. The more the ISO number the more sensitive will be the image and more light will be there.
So you can control the image sensor by the ISO and can get the best possible image.
The low the ISO the better will be the image quality with a more dynamic range. But it also depends on the situation. I will talk about different types of photography situations later in this article.
To measure the sensitivity there are standard ISO ratings. The most common ISO speed/values are:
- ISO 100
- ISO 200
- ISO 400
- ISO 800
- Many cameras have extended Hi-Low ISO
The ISO values vary from cameras to cameras. The minimum ISO rating 100 whereas in high-end cameras it goes to millions.
ISO rating, ISO value or ISO no are the ISO meaning in camera. Now onwards when I will mention ISO it is understood that I am talking about ISO Nos.
What are the effects of ISO in the pictures?
Low ISO produces better image quality and has a more dynamic range. You can take it to the post-production.
High ISO comes with grain also termed as noise. The higher the ISO the chances of more noise.
Low ISO produces a sharper image with less noise. But in the low light condition, you may need to increase the ISO. Increase it until you get the best image.
It is not always necessary to compensate with ISO. In low light situations. If the subject is steady then you can compensate with the shutter speed or the aperture depends on need.
But in a low light situation where the subject is moving or if its sports event. You cannot compensate with the shutter speed. If you keep a long shutter speed you will fail to freeze the subject.
In this case, you have to increase the shutter speed to freeze the subject. And compensate the ISO for better exposure. You can also compensate for the Aperture. If the depth of field is not your concern.
I will talk about different types of photography situations further in this article.
What is Base ISO?
Base ISO is also called Native ISO it is the Initial ISO rating of the camera. The minimum ISO no. in your camera is the Base ISO. Base ISO produces high-quality detail images. When exposed to other elements(Shutter speed and Aperture).
Base ISO varies from company to company. Some have native ISO 100 and Some have ISO 200.
What is Auto ISO Mode?
In digital cameras these days you get two options to manage your ISO. One is manually and the other one is AUTO ISO mode. In auto mode, the camera sensor automatically decides its ISO. According to the light condition for proper exposure.
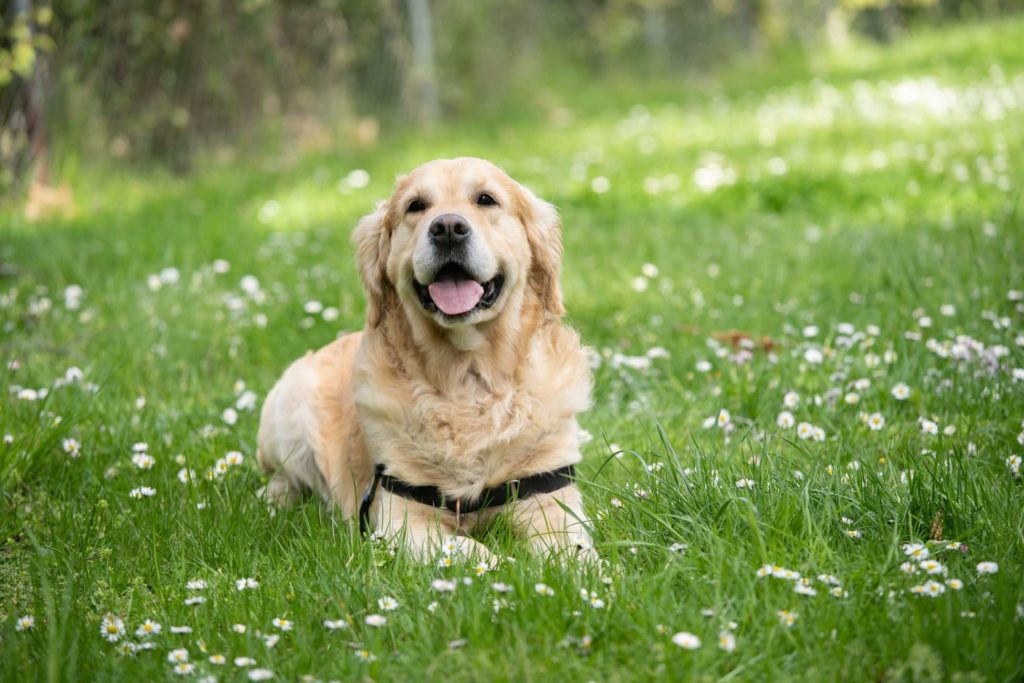
You can keep the Auto ISO in a situation where the light is unpredictable. And it is changing frequently. Like in wildlife Photography, Wedding Photography.
You can change it to Auto ISO by going to the setting menu or you will find it in the dial buttons. It depends upon the camera.
How to Change The ISO Settings in Your Camera?
ISO setting is also called as ISO speed or ISO ratings. The ISO setting varies from camera to camera. Different cameras have different settings. It depends on the companies also.
You can go to the manual setting menu and look for ISO speed or ISO setting or ISO. From there you can select the required ISO rating. You can even select the Auto ISO from there.
In many cameras, you can change the ISO from the dial button on the body of the camera. When you practice to change it from the dial. It gets easier for you to do photography without missing any moments.
You can also select shutter speed priority mode or Aperture priority mode. It depends upon the type of photography situation.
How to use ISO Setting in different types of Photography situations?
When I started with digital photography. I didn’t have much idea about ISO. I kept on clicking pictures with the mindset “ To produce the best picture”. That forced me to play with the three elements(Shutter speed, Aperture, and ISO).
While doing post-production work I understand what mistakes I am making with the ISO. So from there, I learned the importance of low ISO as you get a lot of information to further edit the picture.
This is how I understand the importance of ISO. From my experience, I want to tell you that.
“Photography is a game of light”
Whenever you hold the camera. The first thing you have to check is the light condition. Then you have to play with it using your camera.
Now you have to play with the Three components(Shutter speed, Aperture, and ISO). To capture the subject in your camera. Controlling these three elements will give a properly exposed image.
When it comes to the camera ISO setting. It depends on the lighting condition and many other factors. Let’s see the different factors.
What are the different factors to check for a better ISO setting?
Light
First of all, you have to check the light condition in the shooting situation. Then you have to decide your ISO setting.
Images Need
Now once you analyse the light condition. Check your needs for every click. What is the purpose of the photography? And what do you want to achieve?
You are doing a portrait shoot and want a detailed image for dynamic uses. Keep the ISO as low as possible to achieve high-quality images.
Subject
Next, you have to understand your subject. Check if the subject is moving like in sports or wildlife photography. If the subject is moving means you have to play with the shutter speed to freeze it. In that case, you cannot keep the ISO at its minimum.
You have to increase the ISO at this stage to get the best exposure. You can compensate with the aperture depending on the depth of field you need for the picture.
Situation
It depends on what type of photography you are doing. If the situation has a good amount of light then keep your ISO as low as possible. For different situations, you have to change your ISO setting.
Let’s discuss different types of photography situations for better understanding.
ISO in Daylight Photography
Whatever type of photography you are doing in the daylight. It will fall under this situation. Daylight photography deals with natural lights. Where indoor photography deals with artificial lights.
When it comes to ISO. There is a huge amount of light to overexpose your images. So in this situation, you have to keep the “Base ISO” also known as “Native ISO” because there is enough light. Now compensate with the shutter speed and aperture.
If the Subject is moving increase the shutter speed and keep the aperture as per your need for depth of field.
ISO in Night Photography
It’s a low light situation. You cannot keep the “Base ISO”. So you need to increase the ISO until you achieve the required image. Where shutter speed will depend on the subject. If it’s not in action you can keep a long shutter speed for proper exposure and put the ISO as low as possible.
But if the subject is in motion. You have to keep high shutter speed and compensate with the ISO and Aperture for proper exposure.

In some cases, if you want a wide depth of field. Then you have to decrease the aperture. And compensate with the shutter speed & ISO for better exposure. If the subject is in motion then you have to increase the ISO in this situation.
ISO in Wildlife Photography
It’s a situation where nothing is predictable. The subjects will be in motion and there might be variation in light condition. You have to set your ISO according to that. Keep the Shutter speed high and fast aperture. Now compensate the ISO to get proper exposure.
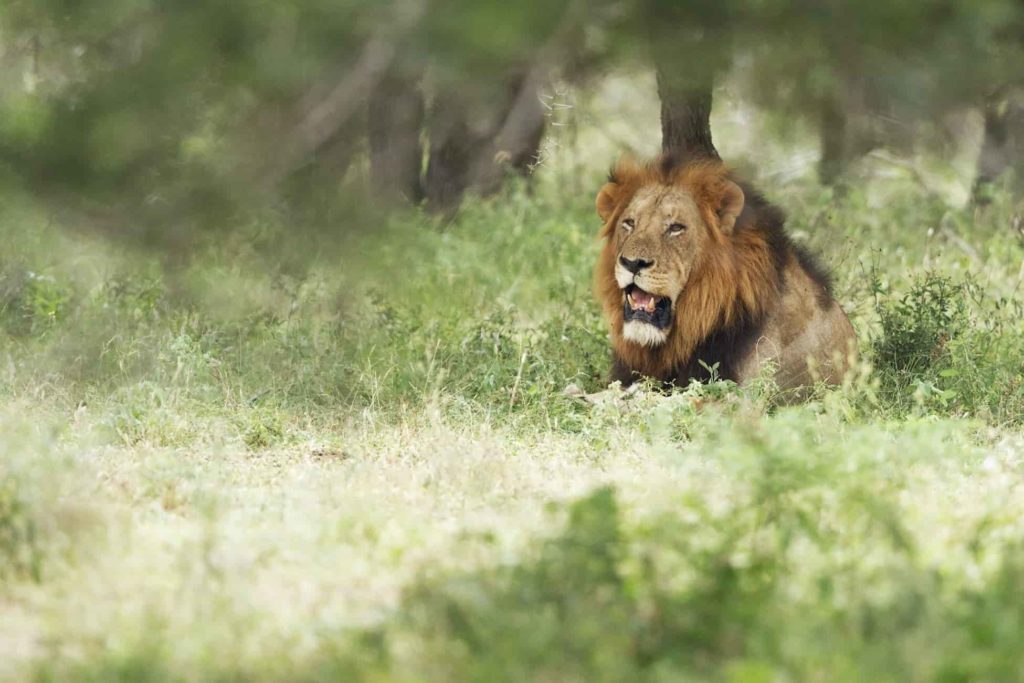
If there is a good amount of light and you want the focus on the subject with shallow depth of field. Then you need to increase the shutter speed for proper exposure and ISO as low as possible.
In such an unpredictable lighting condition you can select “Auto ISO mode”. The camera will do his job for the proper ISO setting. Where shutter speed and aperture will compensate for proper exposure.
Whatever be the shooting situation. Measure the light and set your ISO according to that. And follow the other steps required.
ISO in Indoor Photography
Indoor Photography can be of many types like Studio shoot, events, and indoor sports events, etc.
When you are doing Studio shoots. You have artificial studio lights available with you. You can manage the amount of light with it.
So, in this case, keep the ISO as low as possible. The low the ISO the better will be the image.
In indoor sports events like boxing. You may have light available but the subject is in motion. In this case, you have to freeze the boxer. Keep the shutter speed high and increase the ISO until you get the required image.
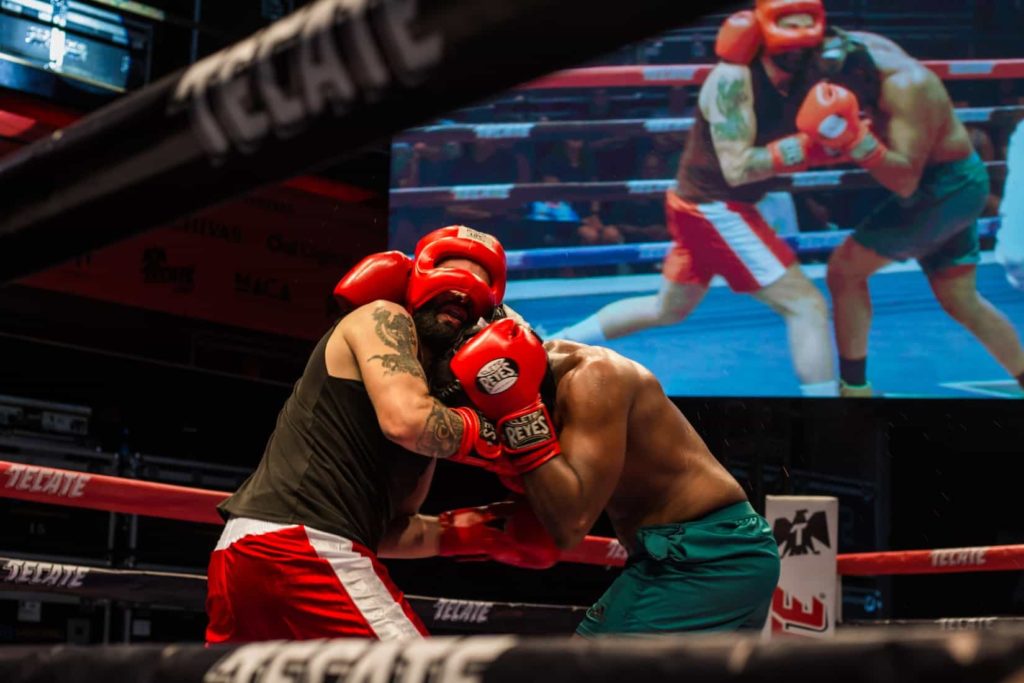
Here you can keep the Auto ISO selected and play with shutter speed and aperture.
In events like night parties, the light will be unpredictable. In that case, you can use it to keep the shutter speed high. Also, fast aperture and increase the ISO until you get the best image.
When to keep a LOW ISO setting?
It all depends on your situation and needs like
- In good light condition
- When you want the high-quality detailed image
- When you want to avoid noise or grain
When to keep a High ISO Setting?
- In low light condition
- In capturing the subject in motion
- When you want grain in the picture
ISO setting with Tripod
Tripods avoid the camera shake and help capture a long exposure. Only if your subject is not moving. If your subject is moving you have to keep high shutter speed.
Using a tripod you can keep the ISO at a minimum and further compensate with shutter and aperture. But only if the subject is not moving. If the subject is moving your first priority will be to freeze the subject avoiding motion blur.
And increase the ISO until you get the required image. You can keep the fastest aperture to meet maximum light. But in case you want a wide depth of field. Then you can decrease the aperture and increase the ISO value. Until the image is properly exposed.
Conclusion
I hope you have understood what ISO stands for and what is ISO in photography? ISO plays a very vital role in photography. So do the other two pillars, shutter speed, and aperture.
Still, if you have any questions. You can ask me by commenting below I will follow each comment.
You can also join me on twitter to ask any questions.
Are You a beginner Photographer? If yes, Learn How to make more money with photography?